Making a Campaign map
Alright, before I start, I would like to say that this is an updated version of Hulagu Khan's old Thorgrim Map editor. His tutorial has always helped me when I made maps. Also, to show you the effectiveness of it, here's a screenie of one of my past works:

First, you need:
Thorgrim's Map Editor http://forums.taleworlds.com/index.php/topic,5646.0.html
GIMP http://www.gimp.org
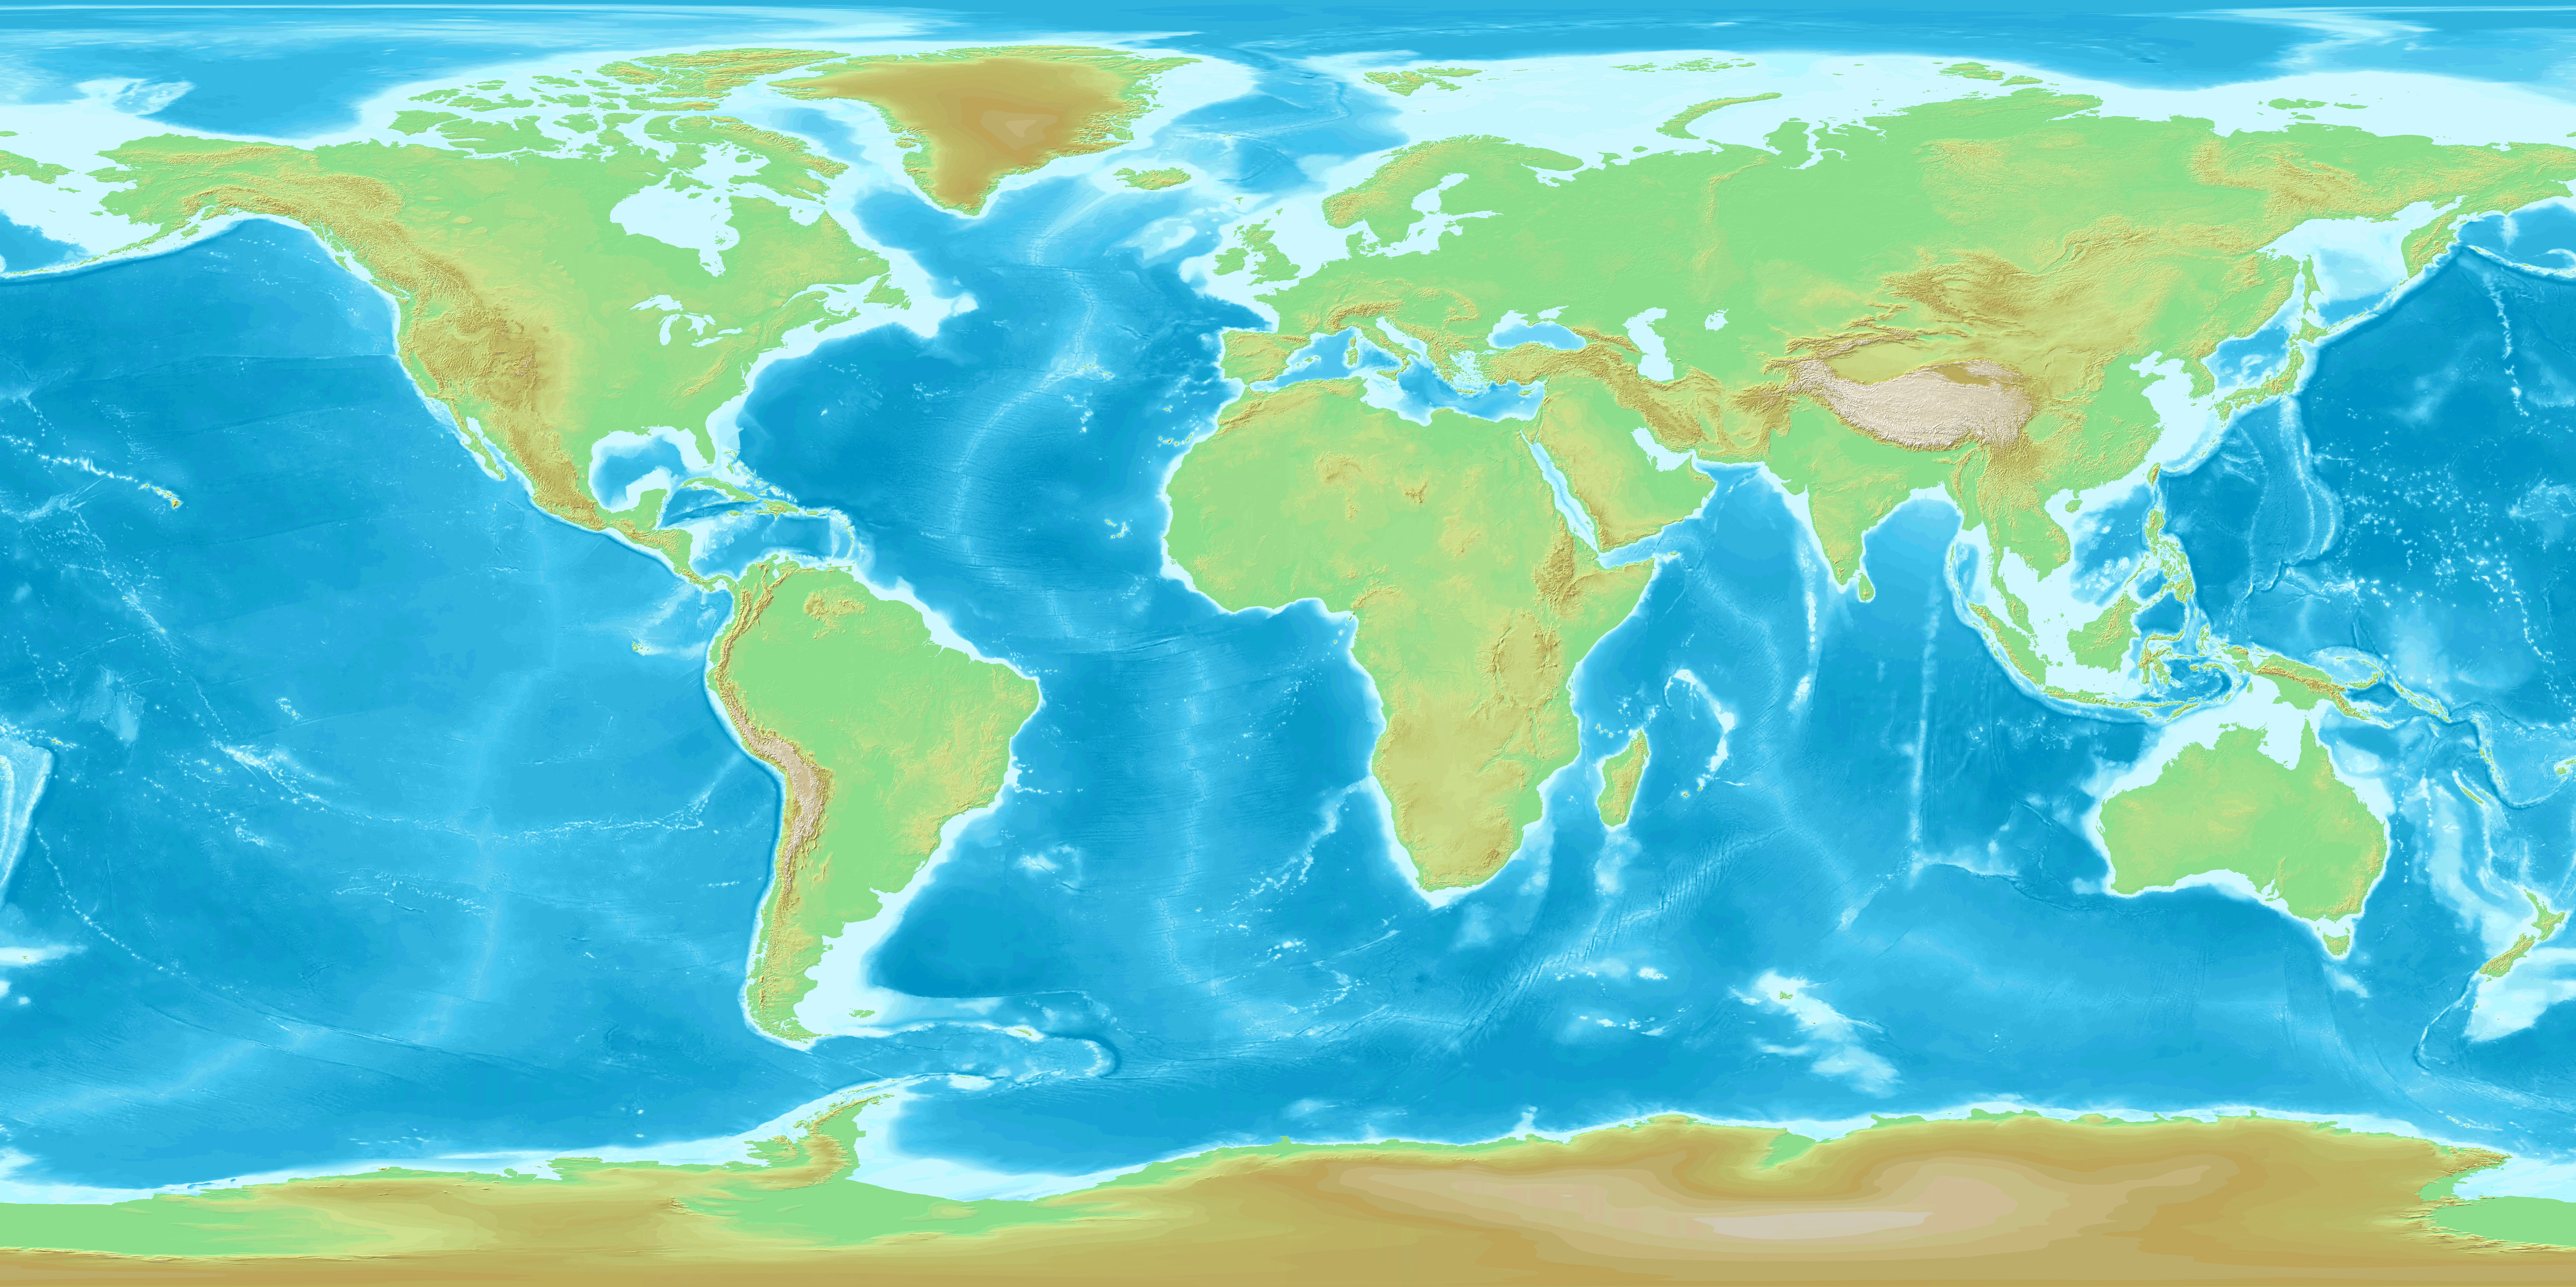
First, when dealing with real maps, you need a topographic version of the map. Topographic maps put more detail in elevation so you don’t have to do everything by hand.
The best way to start out is by getting a topographic world map here:
http://upload.wikimedia.org/wikipedia/commons/c/cf/WorldMap-A_non-Frame.png
Now, find the area you are going to be mapping. Select the area you are going to be mapping but bigger than what you actually need for the red borders, so you won't be able to see jagged edges at the end of the map.

Then, copy your selection and paste it as a new image. Next, scale it to 300 (width) x 400 (height), or the other way round (400x300).

Next, select the ocean with either the 'Select by Color' tool or the 'Fuzzy Select' tool. Then turn them to a lighter colour. This can be achieved in several ways, namely 'Colorize'. I usually change them to white, which is much easier, but that's me. Make sure you just change the ocean, and not the land.
Next, copy the map into a new image, so now you have two maps. Desaturate the first map. Gaussian blur the second map just a little, like by 1.

For the second map, change the land into a uniform color. Next, open your M&BMapEditor file and open editorData. Open MapPallet with GIMP. Use the Color Picker tool and select the Plains colour and copy the color code. Then, open your second map and use the 'Color Exchange' function and change your land to the Plains color. Next, copy the ocean color and do the same for your ocean.

For the first map, 'Value Invert' it and turn everything except your mountains into black. Make sure your mountains are lighter and stand out. Then, Gaussian Blur it, this time by 5.

Now, save the first map, or height map, in bmp. Next, save your second map, or color map, as a bmp with the same name as the first map but with a '-c' at the end. So if your first map is 'euromap.bmp', the second map should be 'euromap-c.bmp'. Transfer your two bmps to the mapdata folder in the editorData folder.

Finally, open your M&B Map Editor and click import. Import first your color map, then your height map. Voila!

In the end, we get something like this:
